First Spanish, then English😁


BIENVENIDO / WELCOME 2018!!!

Hola a todos y Bienvenido 2018!! Se que el año pasado empecé a darle forma al blog, pero no de manera tan regular. Es por eso, que como propósito de este año me propuse actualizar por lo menos una vez por semana!!
Hoy les traigo la tarjeta "Feliz Año Nuevo". Para la misma seguí los siguientes pasos:
1) Crear el fondo. Para ello utilicé papel de enmascarar (así separé el cielo de la tierra), y las tintas Distress que les dejo en la foto.
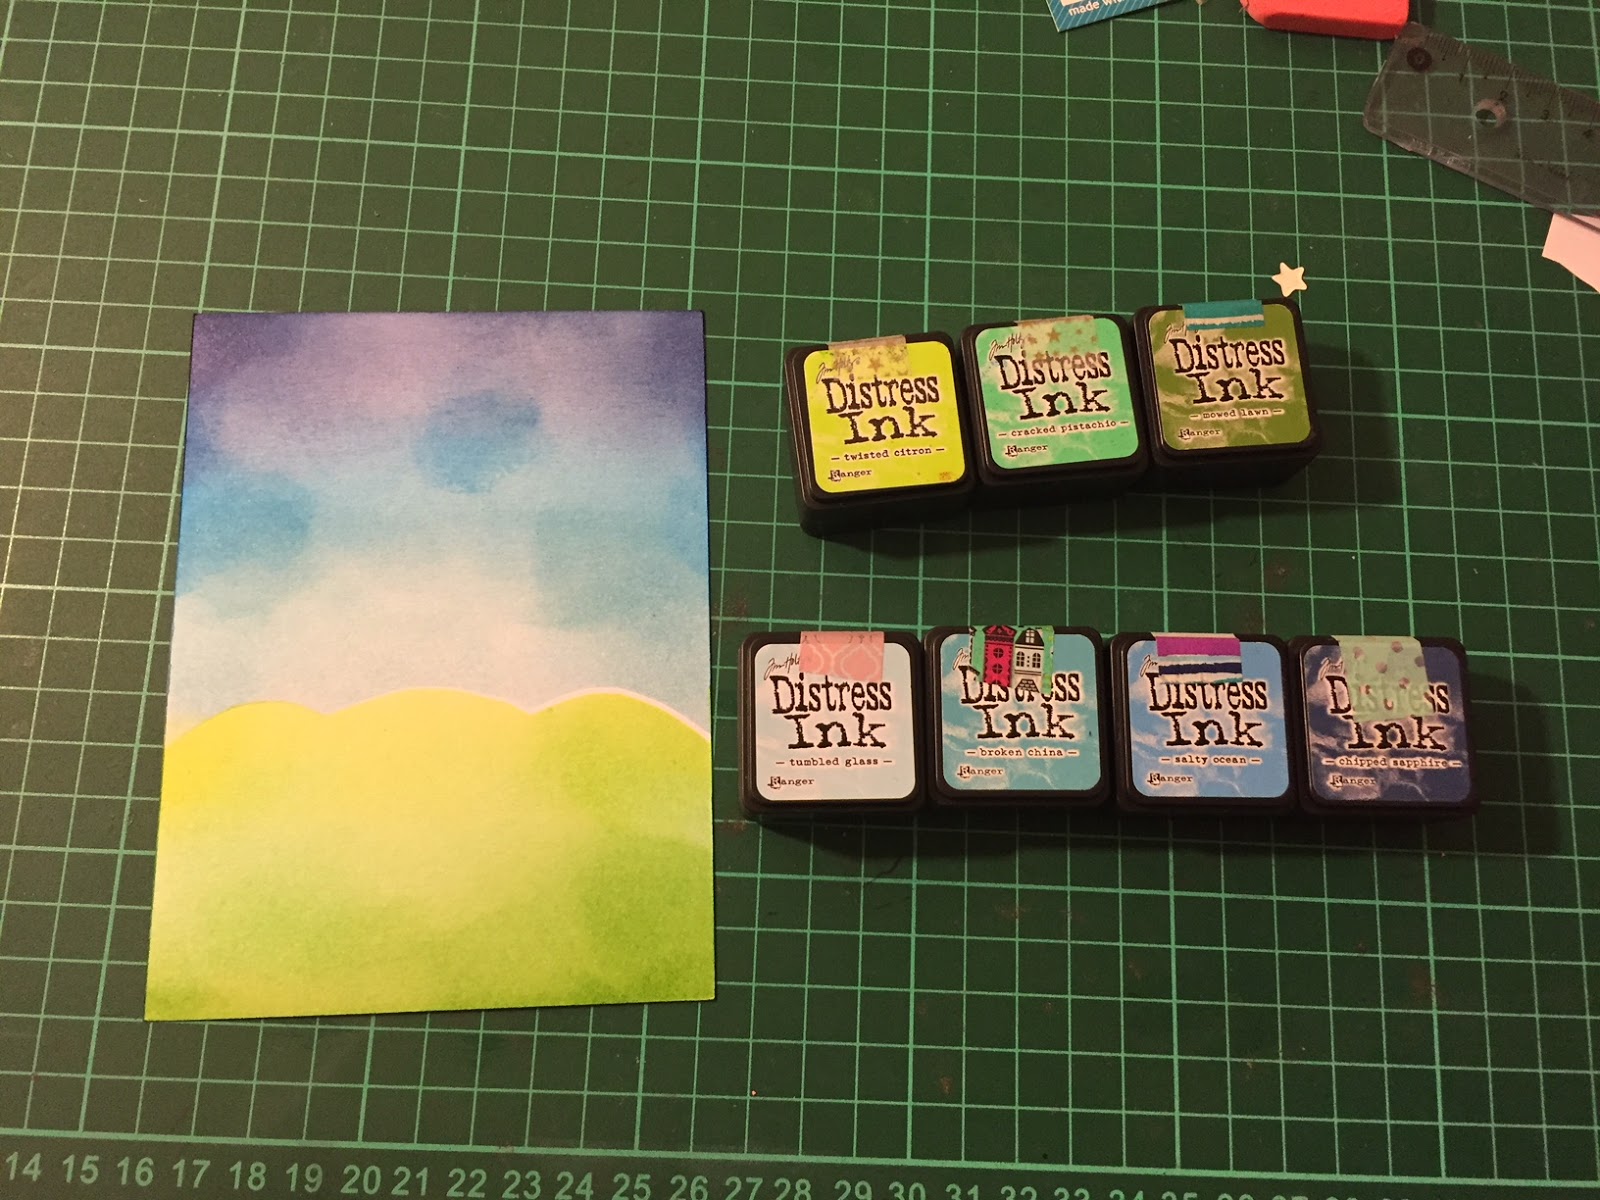
Primero hice el cielo, puse el papel de enmascarar tapando la tierra, y empecé coloreando con los colores más claros hacia los más oscuros. Luego sin sacar el papel de enmascarar, coloqué lo que sería el negativo, así me quedaba pegado uno con el otro (cosa que no ocurrió) y luego saqué lo que tapaba la tierra para pintarla. También acá empecé del más claro al más oscuro.
Como me quedó un espacio en blanco, decidí utilizar un bolígrafo blanco para hacerla constante.
2) Troquelar el fondo. Para esto utilicé el die de Sizzix rectangular con puntitos. Luego, con el die de estrellas de Lawn Fawn, cree las mismas.
3) Crear las figuras: las figuras pertenecen a los sets de Lawn Fawn "Elphie Selfie" y "Mom + Me". Las pinté con marcadores y las troquelé. Las pegué a posterior del punto 4).
4) Sellar la frase: la frase de "Feliz Año Nuevo" pertenece a 2 sets de Sellos de Micaela Ferrero: Noche de Paz y Correo Feliz. Esto lo hice con Distress Oxide Negra.
5) Pegar las figuras: una vez sellado, pegué las figuras con cinta bifaz.
6) Crear el efecto de las estrellas: lo hice pegando cinta bifaz en la parte de atrás del panel (luego la utilicé para pegarla a la tarjeta), y le agregué los "Nuvo Gilding Flakes" en color plateado, los cuales los fijé con un pincel.
7) Armé la tarjeta pegándola contra una base que no es del todo blanca.
Espero que les haya gustado y lo/as espero la próxima semana.
FELIZ 2018!!!
Hello everybody and welcome 2018! I know that last year I began to work in this blog, but not so regular. That's why this year purpose is to upload at least once per week.
Today I have the card: "Happy New Year" following the next steps:
1) Making the background: I did it using some masking paper to separate the ground from the sky, and Distress Ink (the picture with the inks is the one in the spanish section).
First I began masking the side of the ground, so I could work with the sky. I blended from the lightest colors to the darkest. Then without taking out the paper, I set the other half (the negative) so I could match sky from ground ( that didn't happen) and then took out the first paper. Then I worked with the colors of the ground, again from lightest to darkest.
As I had a blank space in between, I decided to use a White Gel pen to make it regular.
2) Die Cutting The background: for this step I used a Rectangular Die with Dots from Sizzix. Then with the Die with Stars from Lawn Fawn I created the same.
3) Making the critters: they came from 2 stamp sets from Lawn Fawn: "Mommy + Me " and "Elphie Selfie". I did alocohol markers coloring, and then die cut them. I set them in the card after step 4.
4) Stamping the sentiment: the sentiment is in spanish and means "Happy New Year". They came from 2 different sets of stamps from Micaela Ferrero's Collection: "Noche de Paz" (Silent Night) and "Correo Feliz" (Happy Mail). I did it with some Distress Oxide Black Soot.
5) Sticking the critters: I did it with double sided tape.
6) Making the effect of the stars with some silver "Nuvo Gilding Flakes".
7) Finished the card adding the panel to the card base.
Hope you like it and I'll wait for you next week.
Happy 2018!
Love your gathering of these sweet critters - thanks for joining us at the Simon Says Stamp Wednesday challenge!
ResponderEliminar